Practice What You Preach
By libhart | November 4, 2011
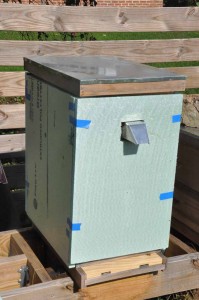
In the early part of the spring, as I was both waiting for new bees and frustrated by the loss of last year’s bees, I wrote a long-winded post regarding the cold and insulation. Last year I did literally nothing to insulate my hives. This year, I’ve followed through on my plans. Each hive now has insulation over the inner cover, upon which is an “attic box” to help collect moisture. There is also insulation on top of that box over which is the outer cover. The entire hive then has a shell of R5 foam board insulation which is wrapped in 15# roof felt.
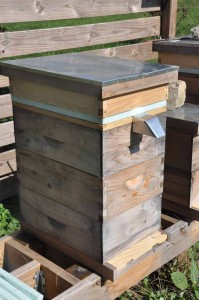
Also on the hives is a small, well, I’d guess you’d call it a gadget. Living in a home that leaks heat like a sieve, I couldn’t come to terms with putting a big hole in the top of the hive even though I know that the notch in the inner cover needs to be there to vent the moisture. I had to protect that in some small way. I fashioned some small “rooves” out of cheap aluminum sheet. These should help to keep the snow and rain out of that notch and may even help prevent the wind from sucking the air out of the hive while still allowing the moisture to vent.
The mouse guards I’m using are home made. This is a variation on a description by Michael Bush of the guards used in Nebraska where a few pieces of lath are nailed together forming a long tunnel-like entrance. The entrance is still 3/8″ high, but mice seem to avoid chewing through the long 3 1/2″ depth of this entrance.
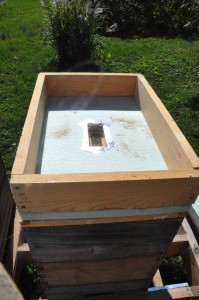
As stated above the attic box will help collect extra moisture and keep it away from the cluster, but it serves another purpose. As spring rolls around and the need to feed arrives, the box is already in place to allow me to do so.
This all requires some pictures.
Here is the hive with its insulation above and below the attic box. The insulation above is not visible with the cover on. Notice the mouse guard and the notch “roof” also in place.
A view inside the attic box. #8 hardware cloth is over the hole in the inner cover keeping the bees out of the box but allowing the air to pass. This screen will be removed when feeding commences in the spring. The foil tape around the cutout is to prevent the bees from chewing up the edges of the foam when feeding.
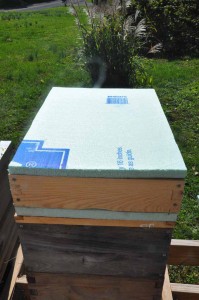
A view with the insulation board on top of the attic box.
The hive completely surrounded with 4 pieces of insulation. The blue tape is simply painters tape used to hold the insulation in place while the rest of the wrap is installed.
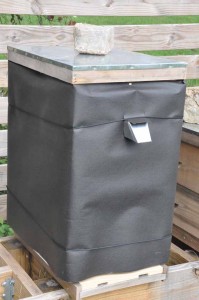
The hive completely wrapped with the wrap and insulation secured with good UV resistance cord and a rock weighing down the cover. My covers are heavy and I normally don’t weight them, but I won’t be opening them all winter so the weight is not inconvenient and is just extra insurance against winter wind.
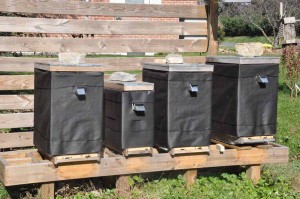
And finally the whole stand of wrapped hives. I certainly hope this makes for hives in which a slightly warm day will allow the cluster inside to readjust and move to stores should they need to do so.

Leave Your Comment